Is there anything more fun than making your own salt dough ornaments for Christmas? These handmade ornaments have that old-fashioned Christmas look and make great, inexpensive gifts for friends and family. When you add a few drops of seasonal essential oils, you can use them beyond the holiday season as air fresheners. This DIY is such a fun project that the whole family can do! We love keeping these ornaments as keepsakes.
Table of Contents
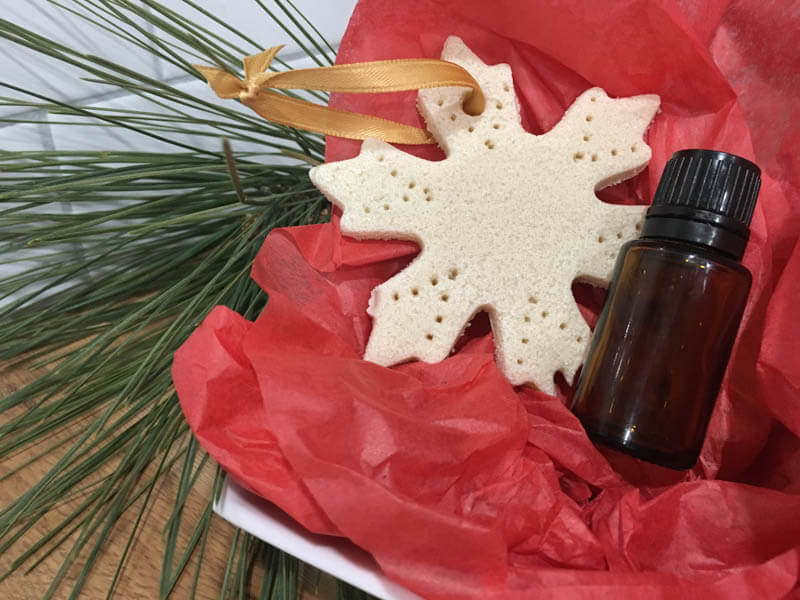
Homemade Ornaments as Healthy Air Fresheners
With three simple ingredients and a little bit of work, you’ll have gorgeous, handmade ornaments to make your house smell amazing. You should note that the decorations need time to dry out, but the actual time spent making them is about 20 minutes. As most parents know, this activity fits perfectly within a little one’s attention span!
Because no one is consuming these, we used cheap salt and bleached white flour for the most affordable, whitest ornaments. You can add white acrylic paint if you want them to be really bright. We prefer the old-fashioned, handmade look, so we didn’t use color in our salt dough ornament recipe. If you want to stretch your ingredients further, you can add less salt, but I recommend using equal parts salt and flour for extra sparkle.
I love repurposing where I can, so we like to use our ornaments year-round as air fresheners. Our kids love opening up their dresser drawers and seeing their handicrafts hard at work! After you take the tree down, simply refresh the scent with a couple of drops of essential oils and hang them in your closet. This is an effortless way to eliminate toxic air freshener chemicals from your home. Plus, you’ll have a joyous reminder of Christmas long after the last present has been opened.


Creative Customization Ideas
- Use a circular cookie cutter and have your children write a heartfelt message on the back of their ornament. Be sure to note the date!
- You can make this recipe on Valentine’s Day for a unique trinket. Use a heart-shaped cookie cutter and have children engrave messages before baking. You can even paint them with pink and red colors!
- This recipe can double as a handprint keepsake. Follow the instructions below and have your child press their hand into the dough. Children can then paint their prints and give them as gifts. Pro tip: These types of keepsakes are popular with grandparents!
- You can easily customize the scent to fit any season or mood. Here are a few of our favorite blends. To keep it simple, make them ahead of time in an old 5 ml EO bottle.
- Christmas Blend – Fir needle (Balsam fir, Douglas fir, white fir), peppermint, and vanilla absolute
- Deep Breathing Blend – Cardamom, eucalyptus, lemon, peppermint, rosemary, tea tree
- Focus Blend – Cedarwood, frankincense, sandalwood, and vetiver
- Good Bye Allergy Blend – Lavender, lemon, and peppermint
- Healthy Digestion Blend – Anise, caraway, fennel, ginger, lemon, and tarragon
- Holy Anointing Blend – Cassia, cinnamon, frankincense, and myrrh
- Immune Boosting Blend – Cinnamon, clove, eucalyptus, rosemary, orange, and lemon
- Joyful Blend – Orange, lemon, bergamot, grapefruit, and vanilla absolute
- Sleepy Time Blend – Roman chamomile, lavender, and vetiver
Salt Dough Ornament Recipe
Be sure to print this recipe, as it’s sure to be a family favorite for years to come. Bake a healthy treat, make some hot cocoa, and start crafting!

Salt Dough Ornament Recipe
Quantity
Ingredients
- 1 cup gluten-free all-purpose flour
- 1 cup pink Himalayan salt, fine
- ½ cup warm purified OR distilled water
- Essential oils*
Supplies
Instructions
- Combine flour and salt. Knead in water till well mixed and not sticky.
- Roll out to ¼” and cut with your favorite cookie cutters.
- Place on an ungreased cookie sheet and poke holes with a straw.
- Bake at 250 degrees for 2-3 hours. Or let dry on a sheet for a couple of days.
- You can paint with acrylic paints if you like, but we like to hang them plainly, scented with a few drops of peppermint essential oil!
Step-By-Step Salt Dough Ornaments
Step One: Combine Ingredients
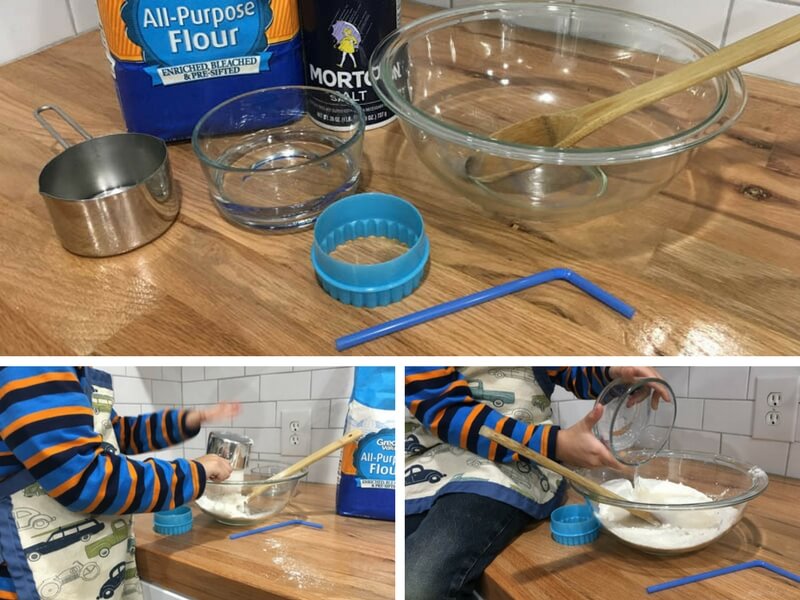
In a large bowl, combine the flour and salt until well-mixed. Slowly stir in the water.
Step Two: Knead the Dough
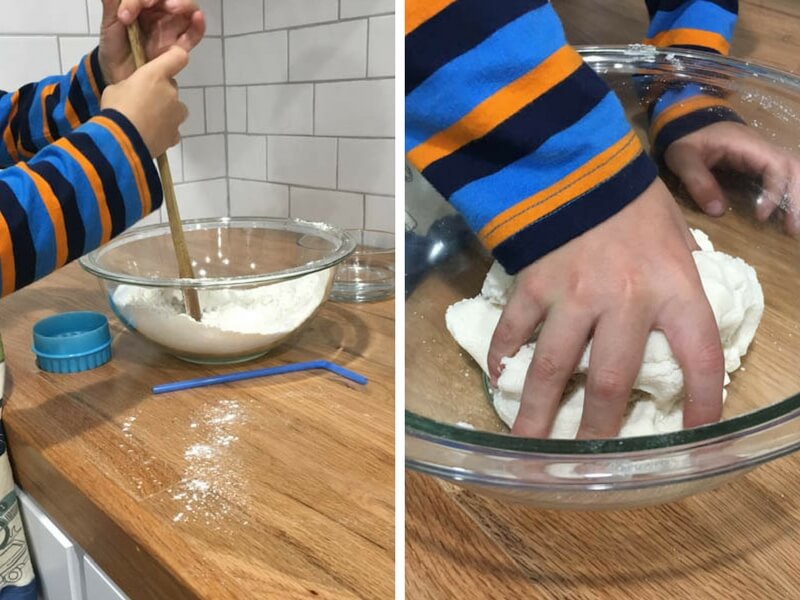
Knead the salt dough ornament dough until smooth and not sticky.
Step Three: Cut the Ornaments
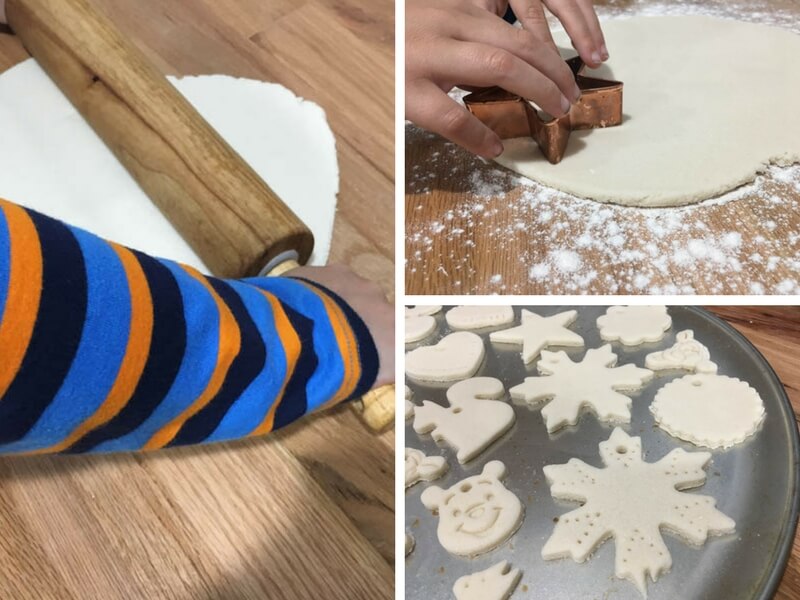
Roll the dough out to 1/4″ thick and cut with your favorite cookie cutters. We prefer using holiday-inspired shapes mixed with our kids’ favorite characters! Little ones love customizing their ornaments!
Step Four: Decorate the Ornaments
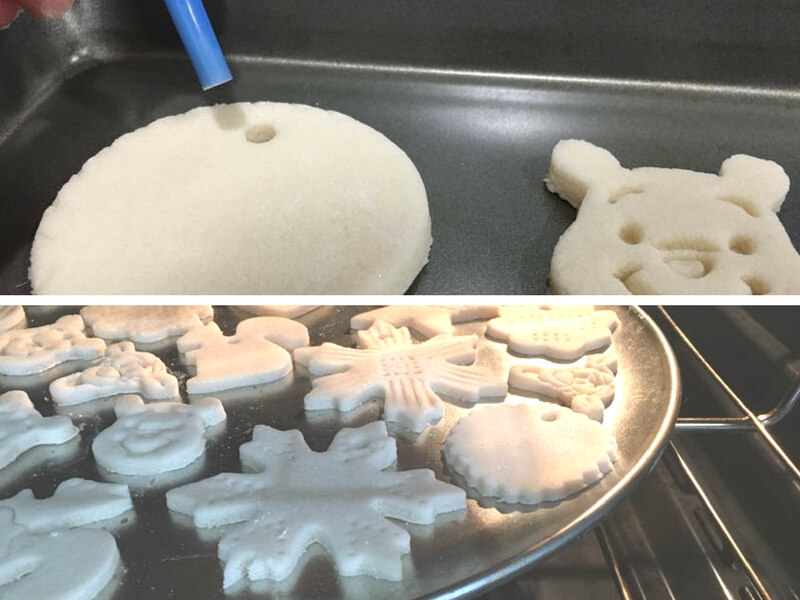
This step is the fun part! I recommend using a fork or toothpick to make simple designs. We like adding a little jazz to our snowflakes and creating faces for our characters! If your child is making these for grandparents, you can have them write a message on the ornament and date it. If you want to hang your decorations, poke a hole in the top with a straw.
Step Five: Bake and Celebrate
Bake the salt dough ornaments at 250 degrees for 2-3 hours until hard. Let them cool, then add ribbon or string to hang them on the tree! Paint them if you wish.
You can personalize the fragrance however you’d like. Put 3-5 drops of your favorite essential oils on your ornaments! We like cinnamon essential oil or peppermint oil best, but any of the diffuser blends you enjoy would be perfect to use.