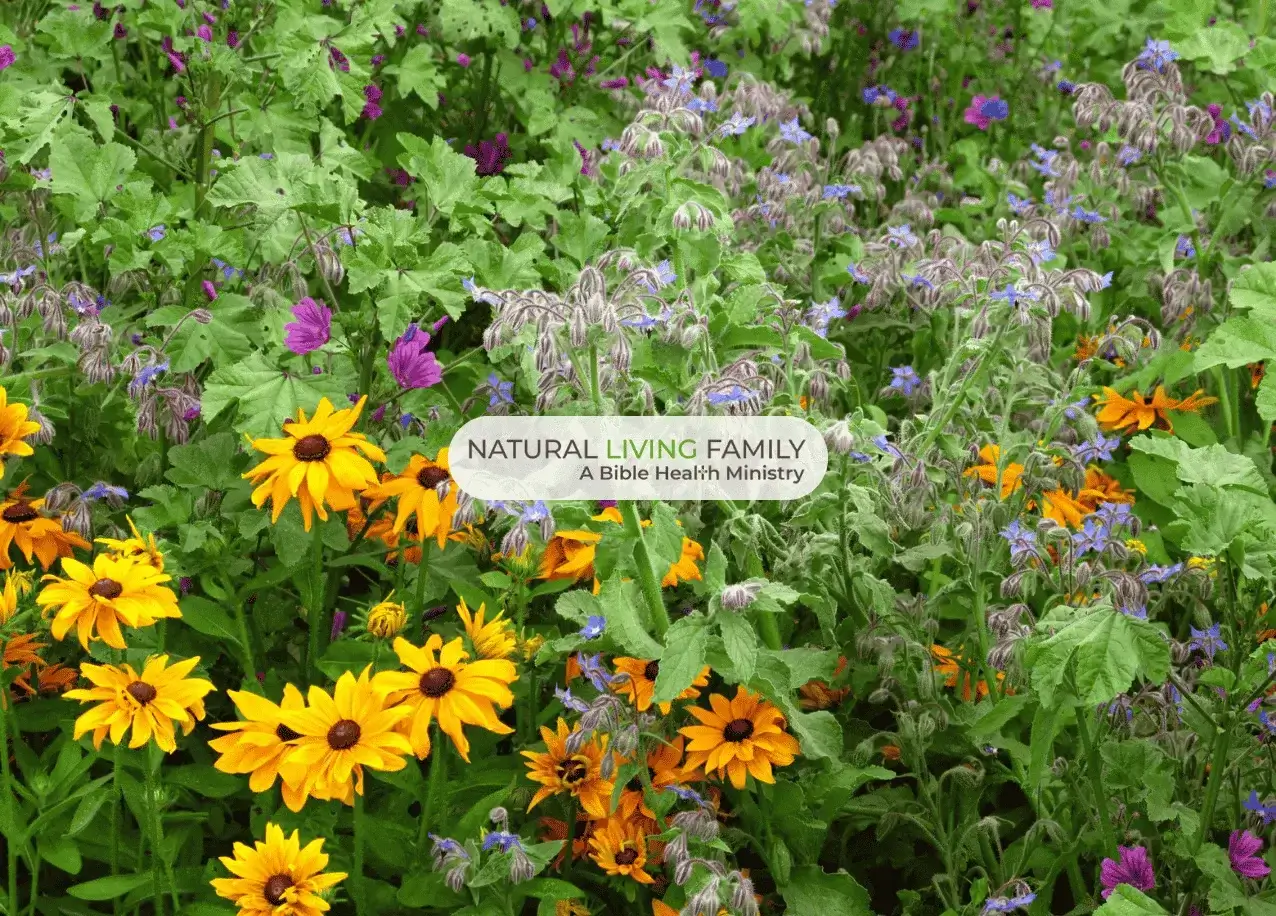
Ready to grow something beautiful right where you are? This Indoor Garden Ideas round-up is packed with simple, practical tips to help you start or expand your own indoor garden, no matter your space, skill level, or season. These ideas come straight from my live gardening teachings, and I’ve gathered them here so you can begin creating a thriving windowsill garden today. Whether you’re growing herbs for your kitchen, starting seedlings, or learning how to root your own pineapple (yes, really!), you’ll find step-by-step guidance to make it doable and fun.
Table of Contents

How to Grow Herbs Indoors
What’s first? Herbs, of course!
My favorite way to start an indoor garden is with fresh herbs growing right on the kitchen windowsill. It’s the perfect way to grow what you use most—like basil, thyme, and parsley—while giving your plants a head start before moving them outdoors. The secret to success? Good lighting. A simple grow light bulb can make a big difference, especially during the cooler, darker months, and they’re incredibly affordable (about $5/month even if left on all day).
Here are my top 3 herbs to grow indoors:
-
Basil – A must-have for Italian dishes like our homemade lasagna or allergy-friendly bruschetta.
-
Thyme – The star of my fresh tomato salad, this herb brings bold flavor in every bite.
-
Parsley – Don’t underestimate this “garnish”! It’s a cleansing superfood I include in my favorite juice recipe.
Be sure to use non-GMO, heirloom seeds—we love Seeds for Generations for their quality and mission.
In our kitchen, I keep a steady rotation of herbs going year-round. Every couple of months, I rotate out the current plants, giving them a gentle transition back to the outdoors so they don’t go into shock. That process usually takes about a week. I slowly acclimate them using our four-phase sunlight system (shade, part shade, part sun, full sun), just like we do with all our garden transplants. Once they’re settled outside, I bring in a fresh batch of new herbs to take their place on the windowsill.
This rhythm keeps our kitchen stocked with vibrant, living herbs all year long, and it gives each plant a chance to thrive without getting burned out indoors.
I also use our kitchen windowsill as a little recovery station for fallen fruit from the garden. Whether it’s a tomato that dropped during picking or a fig that was knocked loose by the rain, I’ll bring it inside to finish ripening in the warm light. It’s such a simple habit, but one that keeps us from wasting good food.
Rooting Plants for Indoor Gardening
One of my favorite indoor gardening hacks is rooting new plants from fresh clippings. It’s simple, inexpensive, and a super rewarding way to multiply your herbs without ever setting foot in a store. I especially love doing this with spearmint and thyme because both root beautifully in water and are kitchen staples in our home.
Here’s how it works: just snip a healthy stem from an existing plant, remove the lower leaves, and place the cutting in a small jar or glass of clean water. Set it on your sunny windowsill and be sure to change the water every day. This keeps bacteria from building up and gives your cutting the best chance to grow strong, healthy roots.
You’ll want to keep an eye on things, and if no roots appear after about a week, don’t be discouraged. Just toss that stem, take a fresh clipping, and try again. Some herbs are a little more temperamental than others, but when it works (and it often does!), you’ll start to see fine little roots sprouting from the bottom of the stem.
After about a month, those roots should be well-developed and ready for soil. At that point, each rooted cutting is transferred into its own pot. You can continue to grow your herbs indoors, or, when the weather is right, start the transition process to plant them outside.
It’s a gentle, low-cost way to keep your herb supply going year-round, and it’s especially fun to do with kids. You get to watch the process of life and growth unfold right on your kitchen windowsill. And let’s be honest, there’s something deeply satisfying about creating abundance from what you already have, just like God designed it.
How to Root from Hydroponics
Now that you’ve got the basics of rooting herbs in water, let’s take your indoor garden one step further with a fun intro to hydroponics!
Hydroponics might sound fancy, but it’s actually very simple, and you’ve probably seen it without even realizing it. If you’ve ever grabbed a bundle of basil from Whole Foods or a local farmer’s market and noticed the roots still attached, that’s hydroponic growing in action. Instead of growing in soil, the plant is grown directly in nutrient-rich water. And guess what? You can replant that same basil at home and give it a whole second life!
Rather than tossing out that root clump once you’ve used the top leaves, just snip what you need for cooking and place the root base in a cup of clean water. Set it on your windowsill where it’ll get some indirect light, and remember to change the water daily. That’s the key to keeping things fresh and preventing rot.
Over time, you’ll notice the roots start to stretch out and fill the cup, which is a sign that your plant is ready for the next phase! Once the root system looks full and healthy, carefully transplant each sprig into its own pot with good-quality soil. From there, you can keep it on the windowsill to keep harvesting, or move it outdoors once it’s strong enough to handle the elements.
It’s one of my favorite ways to stretch your grocery budget and create abundance from something that would usually be tossed in the compost. Plus, it’s a fun science project for the kids.
Rooting a Pineapple Indoors
Did you know you can grow a whole pineapple plant from the top of a store-bought pineapple—no matter what climate you live in? It takes a little patience, but it’s such a fun (and beautiful!) addition to your indoor garden. Plus, you’re giving new life to something that would normally end up in the compost bin. Total win!
After you’ve enjoyed your pineapple (maybe in a fruit basket or homemade sweet and sour chicken), cut off the leafy top, making sure to remove all the fruit flesh. Any leftover fruit can cause rot and spoil the whole process. Dip the base in a little rooting hormone, shake off the excess, and place it in a fresh cup of water.
Be sure to change the water daily, keeping it fresh and clean to prevent mold or bacteria from slowing down the rooting process. Within a week or so, you should start to see tiny roots forming at the base of your pineapple top. It’s such a fun thing to watch, especially for kids who love seeing those first signs of life!
Keep going! With consistent care and fresh water, the roots will continue to grow and eventually wrap around the entire base. This may take several weeks, so be patient and don’t rush the process. You want a nice, full root system before introducing soil.
Once the roots are strong and well-developed, it’s time to transfer your new pineapple plant into soil. Start with a small pot indoors where the environment is controlled and gentle, giving the plant time to adjust from water to soil. After it settles and starts growing new leaves, you can move it to a larger, well-aerated outdoor container, also known as its permanent home.
Pineapples do take time to grow, but the process is so rewarding. You’re turning what would normally be kitchen waste into something fruitful, literally!
Indoor Garden Ideas to Transition Plants
Once your windowsill garden is thriving, it’s so tempting to take those healthy little plants and pop them right into the ground outside, but slow down! That quick jump from your warm, cozy kitchen to full sun and wind can shock your plants, weaken their roots, and even cause them to wilt or die. It’s kind of like sending a toddler straight into a college lecture…too much, too soon!
To keep your herbs, cuttings, and other starts strong and thriving, you need to introduce them to the outdoor elements slowly. This process is called hardening off, and it helps your plants adjust to the real world without going into survival mode.
Here’s the gentle, four-phase transition I follow to give our plants the best start outside:
Phase 1: Shade
Start by placing your plants in a completely shaded outdoor area, such as under a deck, next to a solid fence, or on the shady side of your home. This helps them get used to temperature changes and natural airflow without the intensity of direct sun.
Phase 2: Part Shade
After 3-5 days, move them to a spot with filtered or indirect sunlight. Great examples include dappled light through a tree, the edge of a porch, or under a patio table. They’re still somewhat protected, but now they’re beginning to soak up some gentle rays.
Phase 3: Part Sun
Next, introduce them to direct sunlight for part of the day, either in the morning or the afternoon, but not both. This phase helps strengthen their leaves and roots while still keeping them from overheating or drying out too quickly.
Phase 4: Full Sun
Finally, your plants are ready to bask in full sun and can be either planted directly into the garden or moved to their permanent outdoor containers. By this point, they’ve been “trained” to handle real-world elements like bright sun, wind, and fluctuating temperatures, and they’ll be much stronger because of it.
Taking the time to walk through this process helps your plants build strength, resilience, and long-term vitality. And just like kids, plants do best when we don’t rush them into new seasons. With a little patience and care, you’ll set them up to thrive, not just survive.