


Learning how to blanch vegetables for freezing is a great skill to learn. It helps you preserve your harvest all while maintaining the quality of your organic, garden-fresh produce! It's one of the most popular food preservation techniques because it is one of the simplest. Let's examine the simple food science behind how to avoid food spoilage by preserving homegrown vegetables with this easy, quick method!
Table of Contents

Freezing Vegetables for Food Preservation
Frozen vegetables get a bad reputation if you try freezing homegrown produce without the proper process. Thankfully, you can freeze almost anything well with just a touch of food science. That's where learning how to blanch vegetables for freezing makes all the difference.
Vegetables such as corn, peas, broccoli, cauliflower, carrots, green beans, and winter squash freeze extremely well. You can also freeze winter greens such as spinach, kale, chard, and collards. Other vegetables to consider freezing are onions, celery, sweet peppers, green peppers, or any of your favorite bell or hot peppers if you grow more than one variety.
Pro-Tip: Do not freeze vegetables with high water content since they will become mush when thawed. This is where food science works against us using freezing as a good preservation technique. These include, for example, cucumbers, summer squash, and lettuce. Better food preservation methods for these vegetables would be making them into sauce, and then canning or freezing that to preserve.
The trick when freezing vegetables is to make sure you don’t ruin the texture, color, and consistency of the veggies in the process. Enzyme activity within the vegetable that causes ripening will sometimes continue to work even after freezing. That’s where the blanching process comes in.
Fresh vegetables you want to preserve, such as green beans, benefit from blanching to halt this enzyme activity. Blanching helps remove the bitterness that turns fresh flavor unpleasant, enhances the color of the homegrown produce you’ve harvested, helps sanitize it so it will be preserved without bacteria growing on it, and more.
How to Blanch Vegetables
Water blanching is a cooking process in which vegetables or fruit are scalded in boiling water, removed after a set period of time (usually about 3 minutes), and finally plunged into ice water. This process helps retain the quality of the produce by stopping the activity of enzymes that ripen the vegetables, and prevent the loss of vitamins. It prevents the cells from rupturing, which can create mushy produce. (Apples or tomatoes are examples of produce that easily ruptures.) Food science for the win!

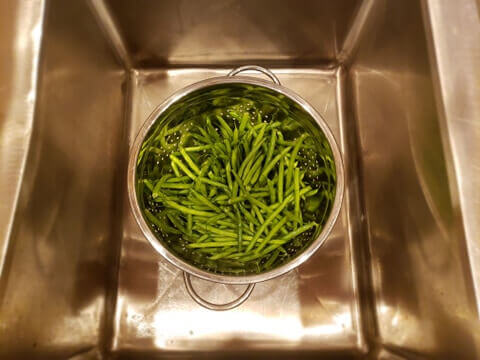
First, you’ll want to prep any of your harvested basket of vegetables by removing tips, leaves, unusable bits, etc. Rinse them clean in cold water while you get your hot water boiling on the stove. You won't submerge the homegrown vegetables until the water is in a full boil.
Steps to Blanching:
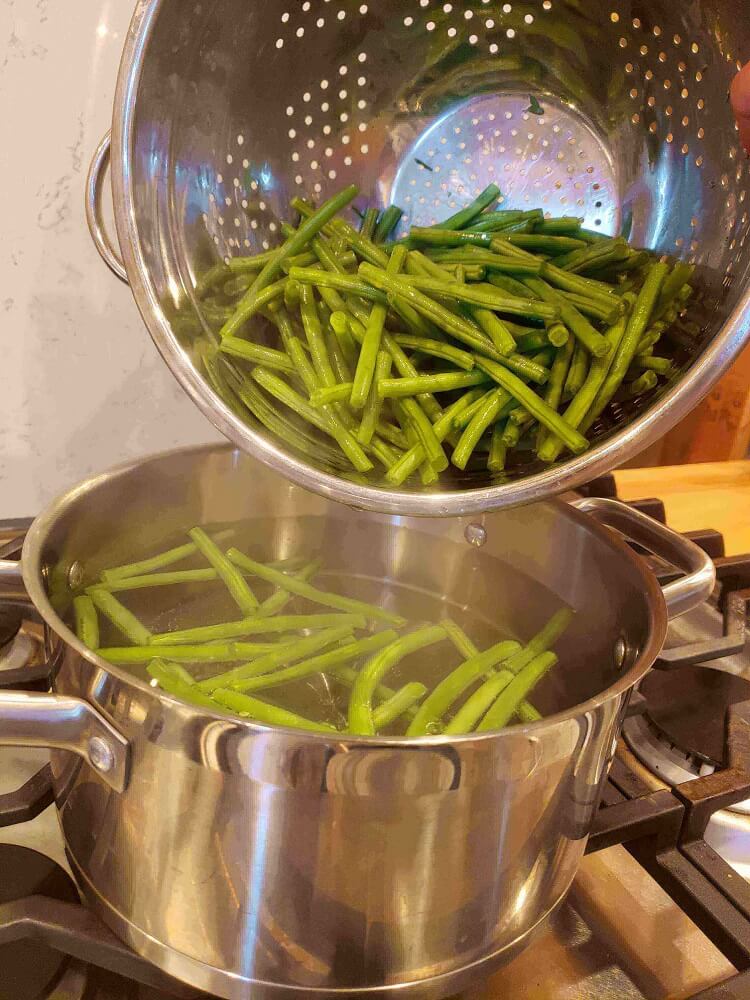
- Bring a large pot of clean, hot water to a rolling boil.
- Drop the veggies into boiling water and let boil according to the chart below or until bright in color (if doing winter greens, leave in boiling water until slightly wilted) to stop the enzyme action of the produce. See the chart below for more precise times by the National Center for Home Food Preservation!
Note: You are technically cooking the homegrown vegetables, so stay vigilant to your batch of vegetables and set a timer.

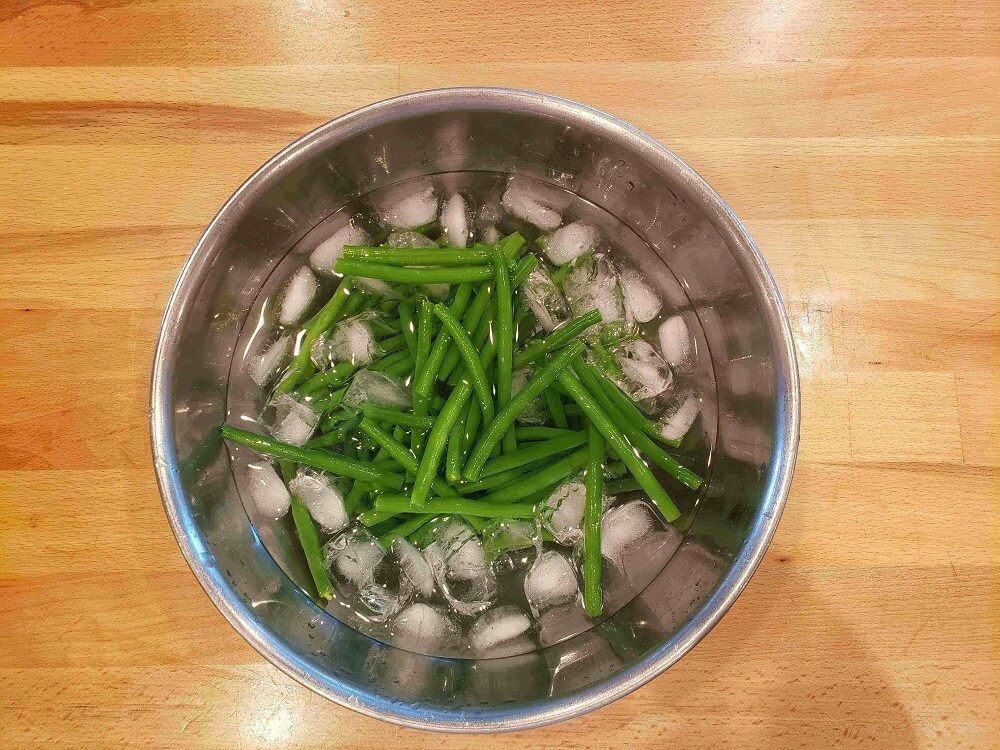
- Remove vegetables from boiling water with a slotted spoon or drain vegetables in a colander. Immediately drop them in an ice bath. Leave them in an ice bath for about 3 minutes until they are fully cooled to the touch. The ice water bath “shocks” the vegetables to stop the cooking process so they are no longer cooking, but ready to be delicious frozen vegetables. More food science for the win!
- Once cooled, pat dry to remove excess water to prevent freezer burn and ice crystals when the veggies freeze.
- Spread out vegetables in a single layer on a sheet pan so they are not touching. This will keep your frozen food from clumping together and allow you to serve portions as needed.
- Place your prepared fresh foods in the freezer until frozen solid. This is one of our favorite food preservation techniques because it's so quick to prepare and preserve even a pound of vegetables at a time, as they come out of the garden.
- Once fully frozen, place into a clean air-tight, and freezer-safe container such as small Gladware® containers or Freezer Ziploc® bags to preserve the food quality.
- Be sure to label your bags or containers so you know what's inside, how much is inside (if you're pre-measuring portions), and the date it was frozen.
Different vegetables require different blanching times. If you under-blanch them the flavor will be bad and if you over-blanch them the vegetables will be too mushy and bland. This chart is adapted from The National Center for Home Food Preservation with times that should be followed as closely as possible for the best quality frozen food.
| Vegetable | Blanching Time (minutes) |
| Artichoke-Globe (Hearts) |
7 |
| Artichoke-Jerusalem | 3-5 |
| Asparagus Small Stalk Medium Stalk Large Stalk |
2 3 4 |
| Beans-Snap, Green, or Wax | 3 |
| Beans-Lima, Butter, or Pinto Small Medium Large |
2 3 4 |
| Brussel Sprouts Small Heads Medium Heads Large Heads |
3 4 5 |
| Cabbage or Chinese Cabbage (shredded) |
1 ½ |
| Carrots Small Diced, Sliced or Lengthwise Strips |
5 2 |
| Cauliflower (flowerets, 1 inch across) |
3 |
| Celery | 3 |
| Corn Corn-on-the-cob Small Ears Medium Ears Large Ears Whole Kernel or Cream Style (ears blanched before cutting corn from cob) |
7 4 |
| Eggplant | 4 |
| Greens Collards All Other |
3 2 |
| Kohlrabi Whole Cubes |
3 1 |
| Okra Small Pods Large Pods |
3 4 |
| Onions (blanch until center is heated) Rings |
3-7 10-15 seconds |
| Peas-Edible Pod | 1 ½-3 |
| Peas-Field (blackeye) | 2 |
| Peas-Green | 1 ½ |
| Peppers-Sweet Halves Strips or Rings |
3 2 |
| Potatoes-Irish (New) | 3-5 |
| Rutabagas | 3 |
| Soybeans-Green | 5 |
| Squash-Chayote | 2 |
| Squash-Summer | 3 |
| Turnips or Parsnips Cubes |
2 |
Vegetables That Freeze Without Blanching
For vegetables that do not require blanching such as peppers, onions, and celery simply trim, slice, and dice as desired for future use, rinse them under cold running water, dry thoroughly, and then freeze directly. This will give you the best quality product when it's time to cook with your homegrown vegetables.
Peppers (Bell & Hot) – You can freeze whole bell peppers without the tops and seeds, but it’s usually easier to slice them into slivers or dice them into useable sizes first. Make sure they are well-cleaned, deseeded, and then blot them dry before adding them into your air-tight freezer bags or containers. I love freezing them in 1-cup portion sizes ready to be used in a stew, casserole, egg dish, or omelet as desired.
Leeks – Rinse leeks and remove the top, base, and dark green leaves. Then slice, blot dry, and freeze in storage bags in ready-to-use portions suitable for a delicious winter soup, healthy quiche, or other yummy recipes!
Onions – I am allergic to the bacteria that naturally develop on onions after harvesting, so I have to eat them fresh. However, if you're like most people and able to eat them any time, freezing an abundant harvest will ensure you to have fresh produce later in the year. They are so easy to freeze!
Peel the outer layer of the onion and then freeze. Onions can be frozen whole, sliced, or diced depending on your needs and desires. Other food preservation methods I like to use with onions include dehydrating them, so be sure to check out that how-to so you know all your preserving options.
This makes these vegetables so easy to preserve because they just need to be prepped and not blanched. They can be frozen as you harvest to lay up stores for off-season months.
Freezing Greens & Herbs
Many greens and herbs can be frozen without blanching and stored in Ziploc® bags, Gladware small containers for single-serving containers, or repurposed herb tubs I save for this purpose. Be sure to label your containers with the content and date!
Leafy Green Vegetables – Most leafy greens such as kale, spinach, collard greens, can be frozen in Ziploc® freezer bags in a two-stage method that will allow you to store them in a space-efficient manner without becoming a solid chunk.
- Place the greens loosely into a gallon Ziploc® bag without smashing them down and seal the bag.
- Place the bag in the freezer overnight so the greens will partially freeze.
- In the morning remove the bag, open the zipper in one corner a tiny amount (no more than an inch), and press out all the air.
- Add back to the freezer for storage.
- Repeat pressing out the air if needed before storing it in the freezer for its final storage. I’ve repeated this step up to four times to get the package as flat as necessary. Plus food science tells us that less exposure to air means better food quality.
- Because your greens have partially frozen they will remain frozen individually so you can remove smaller portions from the larger bag as needed for smoothies, smoothie packets, omelets, or other dishes.
Basil – Use the Ziploc® method above or use a Gladware® container in the portions needed for your favorite recipes such as pesto, salsa, or sauce.
Chives, cilantro, dill, mint, parsley, rosemary, and thyme – I store them in ½ cup or 1 cup sizes to allow me to make pestos and sauces in single or double servings very easily. I will coarsely chop most of these herbs except Italian parsley. Any herbs that tend to have fine foliage will easily be packed into a container for the freezer without needing to chop too much. Include portion size on your label as well as content and date for your convenience later.
Other herbs that freeze well include thyme, rosemary, mint, and others. They just need to have the edible foliage stripped from the branches before freezing. That way you're only preserving the edible, usable parts of the herb and it's ready to use right out of the freezer in your final products.
Consider what garden produce you use the most from your daily harvests during the growing season. These are the items that you’ll want to make sure you preserve in ample quantities to allow you to enjoy the homegrown food quality and flavor throughout the non-growing season.
A Note About Freezing Fruit
There are several fruits that can be frozen although, unlike the vegetables above, fruits do not need to be blanched first. Fruits that freeze well include:
- Apricots*
- Blackberries
- Blueberries
- Cherries
- Nectarines*
- Peaches*
- Pears*
- Plums*
- Raspberries
- Strawberries
- Tomatoes*
*You can blanch these fruits in boiling water to split the skin and peel if you don't want to freeze with the skins.
Prepare larger fruits for freezing by removing the pits and cutting them into sixths. These crescent slices freeze into useable pieces that can be used in desserts, smoothies, and more.
All your fruit should be cleaned in cold water, any greenery removed, and then carefully dried of any remaining moisture. Spread the fruit out in a single layer on a sheet pan to freeze them so your berries won’t stick together. This makes it a lot easier to scoop out a single serving of fruit from a larger bag.
Once they are fully frozen you can remove the fruit pieces and then transfer them to an air-tight, freezer-safe container.
Whether the fresh foods you’re freezing are vegetables or fruit, remember to use food science tips and make sure you remove as much air as possible from the container. You’ll want to fully use it within 6-12 months after freezing. And don’t forget to label your containers with contents and date of harvest!


