


This canning guide covers a shelf-stable way to preserve food with the basics of supplies, techniques, and easy stove-top methods. One of the best shelf-stable ways to preserve food is by learning the basics of canning supplies, techniques, and easy stove-top methods. These will stand you in good stead when you have an abundant harvest from the garden or find a good deal on produce at the farmer’s market.
Table of Contents
Home Canning Guide & Techniques
Fresh vegetables and other produce can be preserved at home through canning, freezing, or dehydrating. Canning is incredibly helpful for the long-term storage of your homegrown organic garden produce, both for high-acid and low-acid foods. Once properly canned, the produce becomes sterile, and safe, and can be stored without electricity, a refrigerator, or a freezer.
Produce can be canned only after food is properly prepared. Sometimes, this can be as simple as using just vinegar and salt (perfect for pickles) or by spicing them up a bit more according to some of the more intricate recipes in the Ball Canning Book of Recipes, a must-have guide for safe canning recipes.
Whichever canning process you use, the goal is to kill harmful microorganisms, inactivate enzymes that could affect food's flavor, texture, or color, and vacuum-seal the jars to keep contaminants out.
There are two main canning methods.
- Pressure Canning Method: This technique requires a pressure canner with lids, clamps, vent, and a pressure gauge. This method is meant for low-acid foods such as unpickled vegetables or soup stocks. Pressure canning raises the food in the canning jars to higher-than-boiling temperatures to prevent bacteria growth and food spoilage, which is an important food safety consideration.
- Hot Water Bath Canning (Boiling Water): This is the most common method (and easier to start with) but is used only on high-acid foods including fruit, pickled vegetables, and some salsa or tomato recipes.
By preserving your own fresh foods, it will help cut down on waste. How many times have you tossed out fresh peppers or cucumbers because you either forgot you had them in the fridge or just couldn’t possibly eat another zucchini for the umpteenth time this week? Start canning fresh foods as they come in right from the beginning and these veggies will last many months longer because they will now be in a shelf-stable jar of food.
Fruits & Veggies to Can at Home
Fruits such as apples, pears, and peaches all can be safely canned via a hot water bath due to their higher acid level and tend to hold their texture well. Softer fruits such as berries can be made into jams or jelly before canning. Most fruit, jam, and jelly can be canned in a water bath canner because of the acidity level.
Tomatoes are also a highly acidic garden produce and can usually be water bath processed but be sure you follow the recipes in the Ball canning book to make sure they are safe.
Green beans, corn, carrots, peas, and okra all can beautifully in a pressure canner. You would also pressure can any pre-made soup or stew, which is a great way of making some “ready to eat” meals for quick meal prep so you are planning ahead.
Canning tends to make vegetables soft, so choose ones you like when they're fully cooked such as green beans or sweet corn. If you find you're not keen on serving canned veggies by themselves, you can always use the canned vegetables in soups or casseroles where the texture won't matter, such as the carrots in our Kale & Lentil Soup.
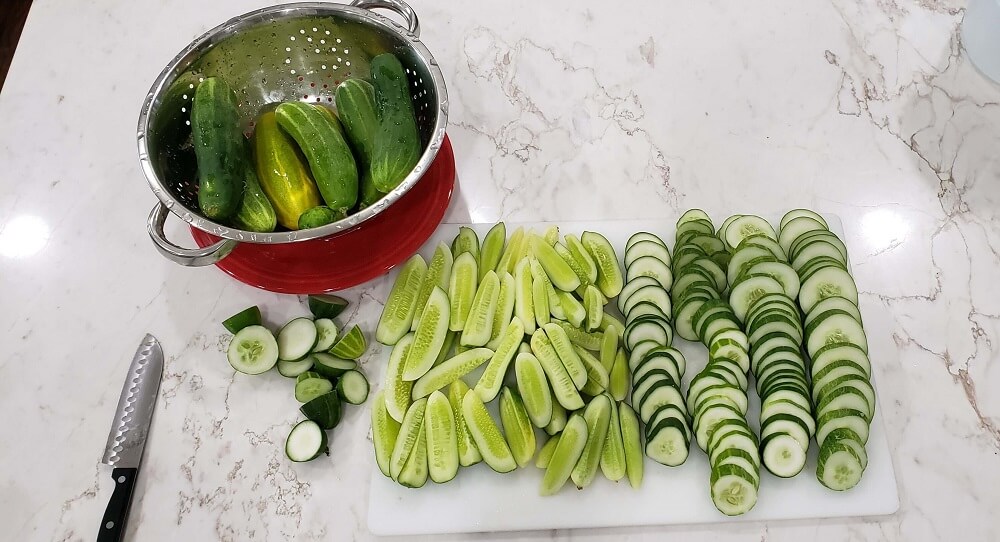
Some vegetables that do not can well on their own can still become shelf-stable in pickle form. Cucumbers are a great example of this. Pressure-canning would take away their crisp texture and fresh flavor, but pickling with a vinegar-based brine helps to retain their freshness.
Canning Supplies Needed
Most canning supplies such as canning funnels, are reusable so they are a budget-friendly investment of tools you can use season after season, year after year. Only canning lids need to be replaced each time you use them. Everything else can be reused; jars, rings, funnels, lid tool, etc. or see the list below.
- Bubble Remover/Headspace Tool – This is a dual-purpose tool to help take out the air bubbles and measure the headspace.
- Canning Funnels – Jar funnels make for clean, easy filling. They come in sizes for regular and wide-mouth jars, and while they aren't a must-have canning supply, they sure are handy and will cut down on the mess in the kitchen.
- Canning Jars – One of the most important of your canning supplies will be your glass, mason-style jar. Only use jars made for canning with lids and bands (or rings) and be sure you sterilize them before canning. Use the jar size specified in the recipe to ensure proper processing times.
- Canning Kettle – Also known as boiling-water canners, these large pots have a rack inside that allows water to circulate around the jars. These are used for low-acid foods and are the less expensive canning pots. Pressure canners are more complicated and more expensive. If you plan to do any pressure canning you'll need a high-quality pressure canner as well, but this guide will cover water bath canning in more detail.
- Jar lifter -This tool safely lifts hot jars out of boiling water. I absolutely consider a jar lifter to be a must-have when it comes to canning supplies!
- Kitchen Towels – You will need to have a stack of absorbant kitchen towels ready for wiping rims and cushioning jars. Trust me – you'll want to be prepared with more than one or two clean towels, especially for water bath canning sessions!
- Label/Label-Maker – You always want to have a label with the content and date when you preserve your own food. Don't ever assume you'll remember what foods you canned.
- Ladle/Glass Measuring Cup – Perfect for mixing brine or measuring ingredients to add to the glass jars. The glass measuring cups with pour spouts are especially useful while canning and are my favorite.
- Lids and Bands (Rings) – When you get started buying canning supplies, you'll need rings and lids both. You can reuse canning bands (often called rings) but always buy new canning lids. Lids for canning help you ensure the canned produce is properly vacuum sealed. This airtight seal makes your homegrown foods safe in storage.
- Magnetic Wand – This stick helps remove lids for canning from hot water to place them on jars. It's a very simple, specific tool as far as canning supplies go, but a magnetic lid wand is vital.
Always make sure your canning supplies are clean and sterilized each time you can produce so you aren't accidentally introducing bacteria into your canning process.
Guide for Hot Water Canning High Acid Foods
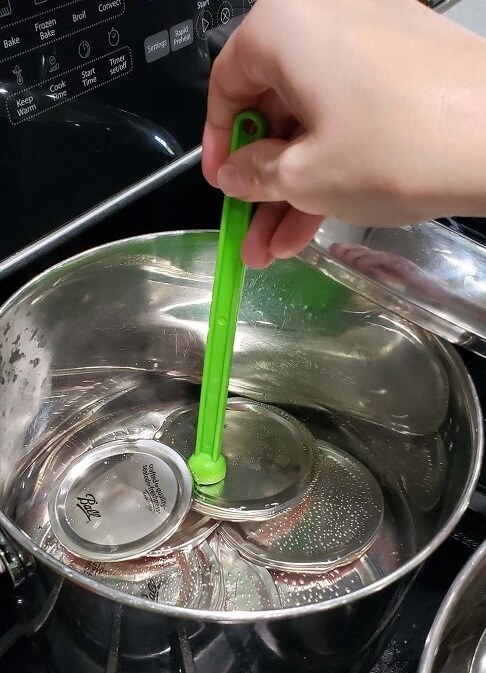
Sterilizing – Place lids in a small pot and cover with hot water, but not boiling. Then place freshly washed and rinsed jars in a boiling-water canner filled with hot water. Simmer for at least 10 minutes. Then, if necessary, keep the jars warm in the water while you finish prepping.
(Tip: you can also sterilize the jars in your dishwasher and keep them closed until ready to use. The jars will remain warm for several minutes. Using a jar lifter, remove the jars and lids, placing them on a clean kitchen towel. You can also keep the lids in a large bowl filled with hot water. This allows you to prep while other steps are completing.)
Prep the canner – Fill your canner half-full with water and bring to a boil. Have more hot water in another pan in case you need to top off the pot and raise the water level after adding the filled jars. If you're using a canner with rack, include the rack in this pre-canning boil.
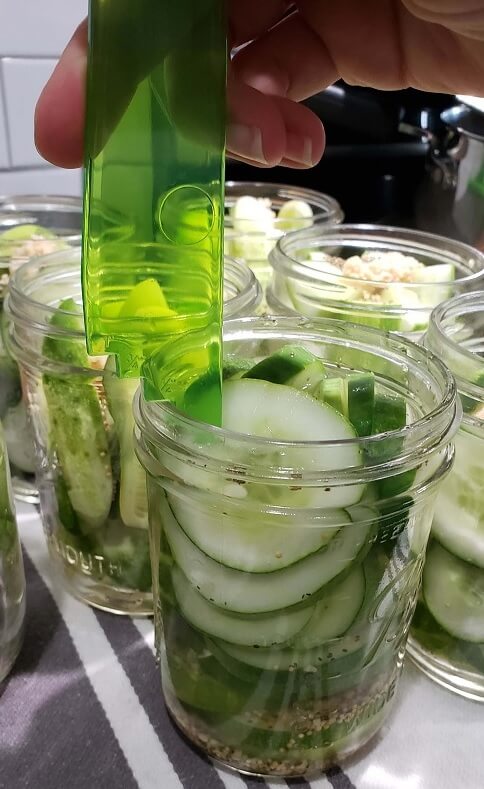
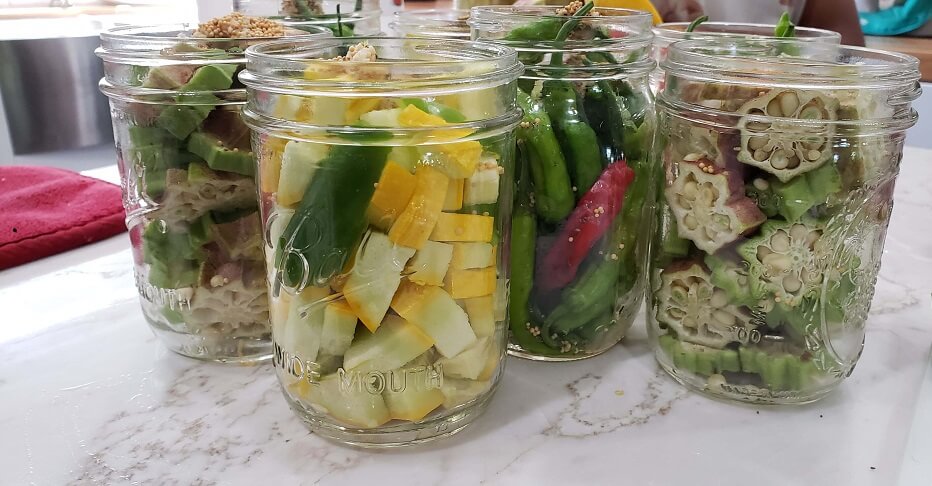
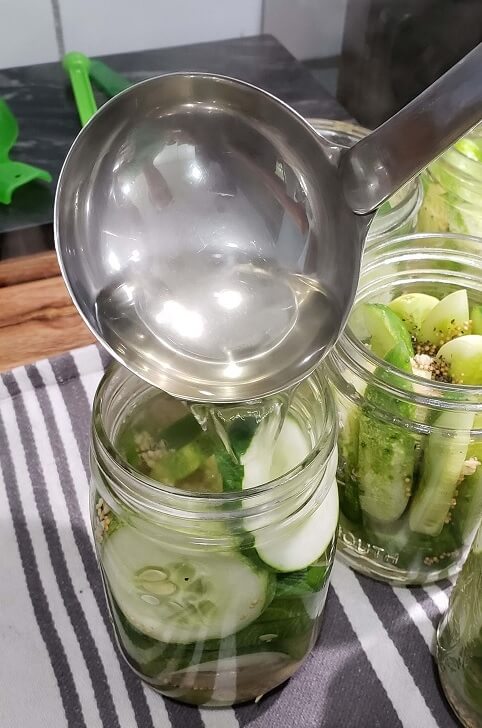
Fill jars with food – Working with one jar at a time, funnel prepared food into hot jars. If pickling, add your fresh veggies and cover with vinegar mixture. Leave about ¼-½ inch amount of headspace (empty space at the top of the jar). Measure from the top of the rim to the top of the food.
Remove Airbubbles – Gently work the bubble remover down the jar sides to release air bubbles. If necessary, add a little more food to the jars to maintain a good amount of headspace.
Top the jars – Wipe jar rim with a clean, damp towel or a wet finger which helps prevent air from escaping so you get a proper seal. Then use the magnetic wand to transfer a lid to the jar. Screw on a band finger tight. (Tip: Screwing bands or rings too tightly prevents a proper seal).
Load the canner – After the jars are topped, transfer the jars with a jar lifter to the water-filled canner and replace the pot lid. When the canner is full, you may need to add hot water from the pan to cover jars about an inch.
Process the jars – Bring covered canner to a rolling boil. Begin timing according to the recipe. (Don't start the timer until the hot water is in a full boil.) Adjust heat to maintain a gentle boil.
(Tip: if jars begin to clink around reduce heat and if the water stops boiling pause the timer until water returns to a boil)
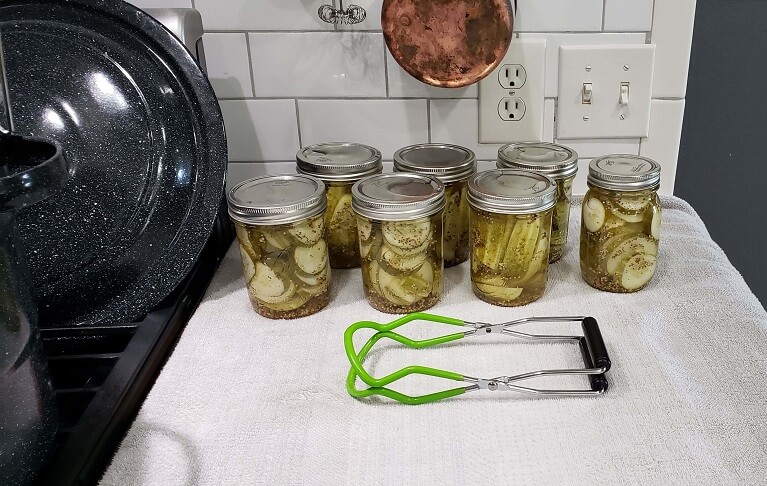
Remove jars – Use the jar lifter to transfer jars to a towel or wooden cutting board. Leave a little room between jars and cool for 12-24 hours. You may hear lids pop, but test the cooled seal by pressing lightly on the center of the lid It should be firm and concave. Once the jars cool, do a final check of the lids to make sure there is a firm seal.
(Tip – If the center moves to gentle pressure, which is rare but can happen, the jar didn’t seal properly. In this case, you can store in the fridge and eat the food within a week. Alternately, make sure the jar rim is clean and try resealing with a new lid. Dip your finger in the hot water, wipe the rim of the jar to remove any particles, and try canning again to see if it seals.)
Don't forget to label everything with what's inside the jar and the date you canned it so you can rotate your store and know what you have on hand.
If you want to enjoy the highest quality fresh produce in the darker days of winter, consider adding home canning to your summer schedule. Whether you grow your own produce in an organic garden or visit co-op farms and buy seasonal produce in bulk, you'll enjoy the pride that comes from knowing you have jars of food set aside for your family.


