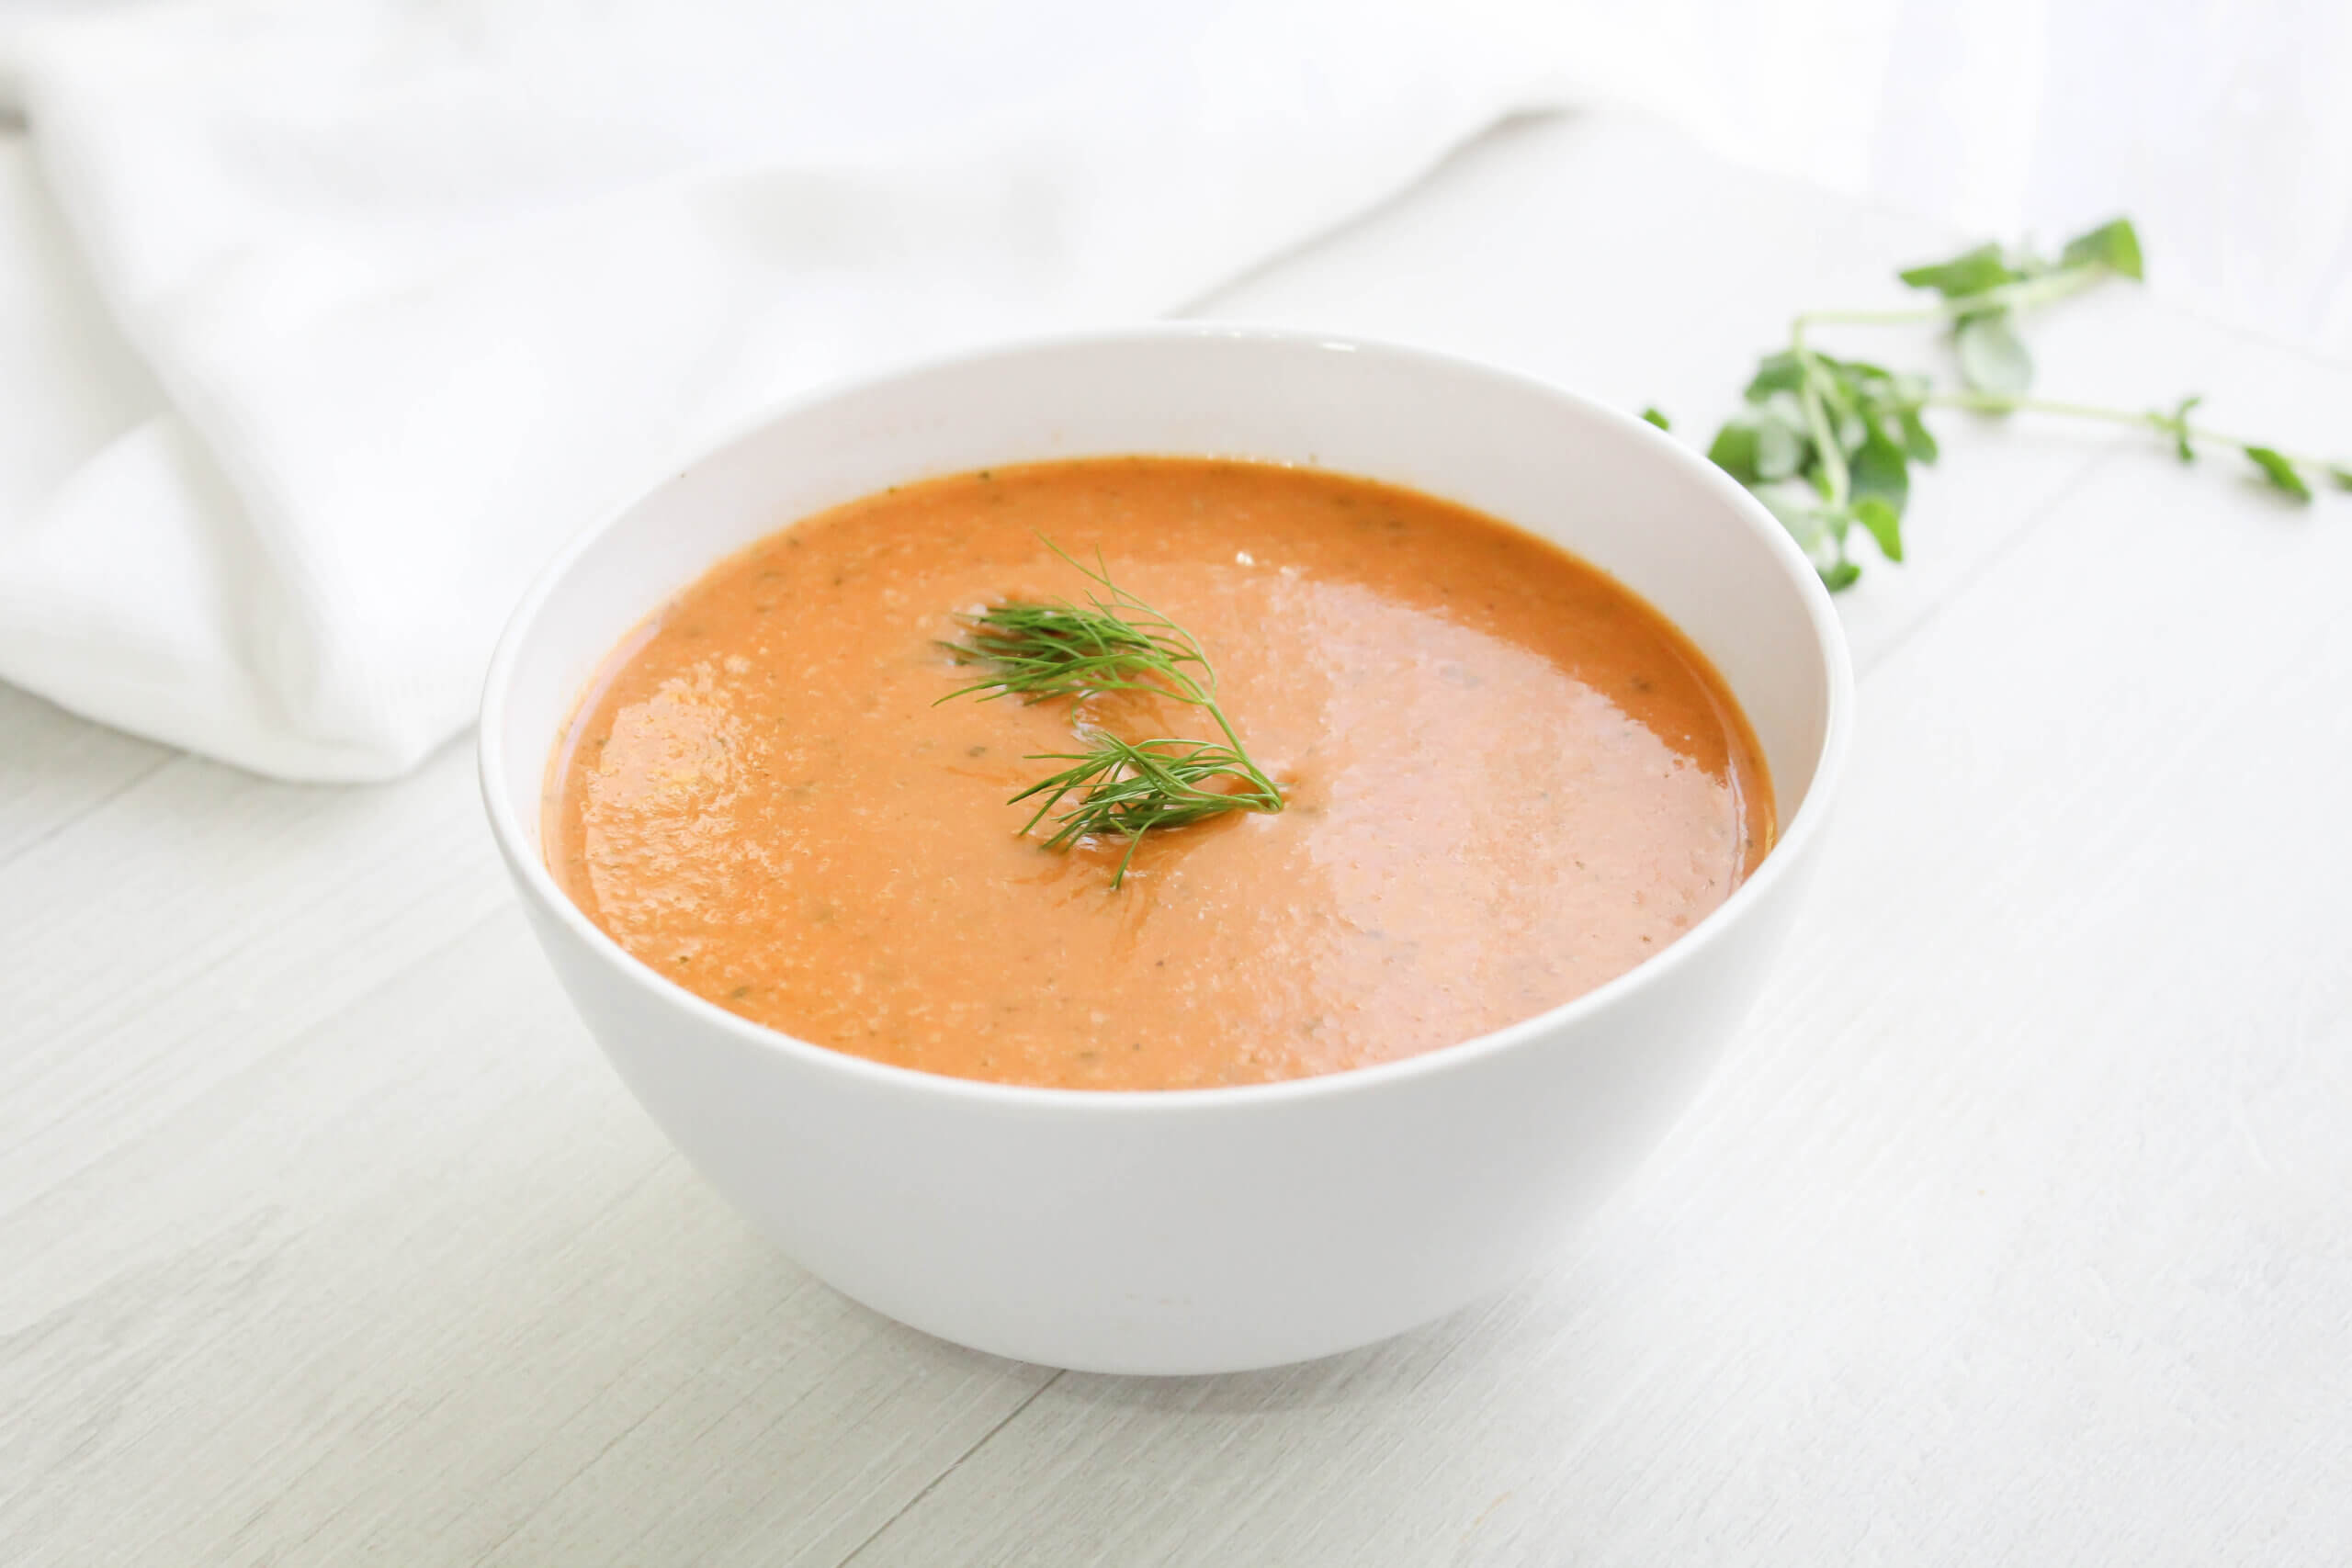
QUICK SUMMARY
This easy Coconut Milk Whipped Cream turns one chilled can of full-fat coconut milk into a light, fluffy, dairy-free topping for berries, pies, puddings, crisps, cakes, and more.
The secret is using full-fat canned coconut milk and chilling it overnight so the cream separates and firms up. Whip only the solid cream with vanilla and your preferred sweetener. If you use liquid stevia, the finished topping has no added sugar; honey or maple syrup are delicious options when you want a traditional whole-food sweetener.
Full-fat coconut milk is rich in saturated fat, including lauric acid, but it should not be marketed as the same thing as purified MCT oil. Research on concentrated MCT supplements does not automatically apply to coconut milk. In this recipe, the main reason for using full-fat coconut milk is culinary: the fat gives the cream enough body to whip and hold soft peaks. (1, 2)
Move over dairy. There’s a new dessert topping in town!
My Coconut Milk Whipped Cream transforms one can of coconut milk into a light, airy whipped topping. This recipe is so versatile. You can use it to top juicy berries or, if you’re feeling creative, use it as a frosting.
The best part is how simple it is.
It is naturally dairy-free, and when you use liquid stevia it is also free of added sugar. That makes it a wonderful option for families who avoid dairy or simply want a simple homemade alternative to heavily sweetened whipped toppings.
And because it is made from real food with no stabilizers added to the recipe, it behaves a little differently than commercial whipped topping.
That is part of the charm.
Table of Contents:

Coconut Milk Whipped Cream Ingredients
Gone are the days of needing dairy to create whipped cream!
Surprisingly, this recipe uses a can of coconut milk to create that fluffy effect. Coconut milk is made by combining coconut flesh with water and extracting the rich white emulsion.
Coconut milk is not the same as coconut water.
Coconut water is the naturally occurring liquid found inside a coconut. It contains very little fat, so it cannot create the rich whipped texture we need here.

I use a stand mixer with a whisk attachment or a food processor for this recipe. I find these methods create the airiest whipped cream ever.
Let’s go over why each ingredient matters.
Organic Unsweetened Full-Fat Coconut Milk: Coconut milk is the foundation of this recipe, and full-fat matters because fat gives the chilled cream the structure it needs to whip.
Food-science research shows that fat content plays a major role in coconut milk’s viscosity, emulsion behavior, and stability. (2)
You will often hear coconut milk promoted as a rich source of medium-chain triglycerides, or MCTs.
There is some truth behind that idea, but it needs perspective.
Coconut fat contains fatty acids of several chain lengths, and lauric acid, one of its dominant fatty acids, behaves metabolically somewhere between classic medium-chain and longer-chain fats. Reviews caution that research on purified MCT oils should not simply be transferred to coconut oil or coconut milk. (1)
So I would not tell you this whipped cream is a metabolism hack or that coconut fat cannot be stored as body fat.
That is not why we use it.
We use full-fat coconut milk because it is creamy, dairy-free, delicious, and works beautifully in this recipe.
You can usually find canned coconut milk in the baking section or international foods aisle. There are many different brands, and formulations vary.
For this recipe, look for a can that feels thick and heavy rather than watery. If you hear a lot of sloshing when you shake the can, there may not be enough firm cream to whip well.
Organic Pure Vanilla Extract: You’ll notice this recipe calls for pure vanilla extract.
We prefer the flavor of real vanilla.
Federal standards require products labeled “vanilla extract” to be made from the flavor compounds extracted from vanilla beans in an aqueous ethyl alcohol solution containing at least 35% alcohol by volume. Regulations also allow certain optional ingredients, including glycerin and some sweeteners, so “pure vanilla extract” does not literally mean vanilla beans and nothing else. (3)
Read your label and choose a simple organic product that fits your family’s standards.
Usually, we recommend using essential oils in a recipe like this, but technically, there is no vanilla essential oil like there is peppermint, lemon, or orange essential oil. Vanilla products sold for fragrance are typically extracts, absolutes, oleoresins, or other preparations rather than a true steam-distilled essential oil.
Sweetener: Liquid stevia makes this whipped cream perfectly sweet. I prefer using vanilla-flavored stevia because it’s consistent with the vanilla extract!
You can also use organic raw local honey or Grade A Dark Amber maple syrup, but stevia keeps the recipe free of added sugar.
Honey and maple syrup both add sugar, so choose the sweetener that best fits the way your family is eating.
Why Some Cans of Coconut Milk Whip Better Than Others
This is one of the biggest frustrations people have with coconut whipped cream.
Two cans labeled “full-fat coconut milk” can behave very differently.
Brands vary in:
- fat percentage;
- the amount of water;
- how finely the coconut is processed;
- homogenization;
- and whether gums, emulsifiers, or stabilizers are added.
Coconut milk is naturally an emulsion of fat, water, protein, and other components, and it is not perfectly stable. Chilling encourages the higher-fat cream portion to firm up and separate from the watery portion. (2)
That is exactly what we want for this recipe.
3 Steps to Whipped Topping
The trick to my Coconut Milk Whipped Cream is refrigerating the coconut milk overnight. This firms up the cream portion, which is the part we’re using!
You must also use the full-fat variety because the “lite” kind doesn’t whip up.
Here’s what to do.

Coconut Milk Whipped Cream (With Vegan Option)
Servings
Ingredients
- 1 (13.5-ounce) can organic full-fat unsweetened coconut milk (1½ cups), refrigerated overnight
- 1 tablespoon organic pure vanilla extract OR Homemade Vanilla Extract
- 2-3 droppersful vanilla-flavored liquid stevia OR 1 teaspoon-1 tablespoon Grade A Dark Amber maple syrup, organic OR organic raw local honey*
Supplies
- Stand mixer Or food processor
Instructions
- After the can of coconut milk has chilled in the refrigerator overnight, turn the can upside down, open it, and drain off the liquid. You can save this liquid to use in a smoothie.
- Your can should be full of coconut cream. Place the cream in the bowl of a stand mixer or a food processor.
- Add the vanilla and stevia to taste. Whip until fluffy.
- Chill in the refrigerator, covered, for 3-4 hours before serving.
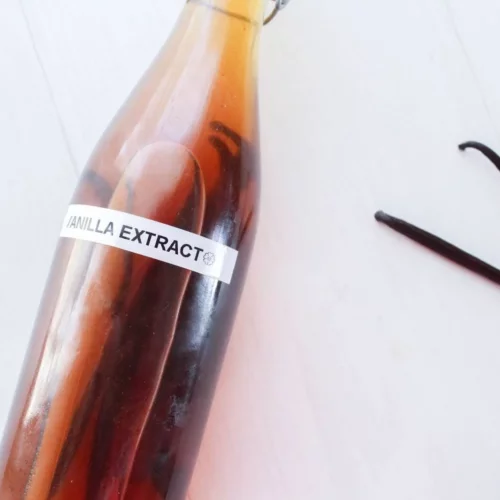
Homemade Vanilla Extract (Vegan)
Servings
Ingredients
- 5-6 organic vanilla beans
- 80% proof organic vodka
Supplies
Instructions
- Place the vanilla beans in a glass bottle and carefully pour in the vodka. Store in a dark, cool place and shake occasionally. Let it work its magic for at least 6 months before using it. Use in all your favorite baked goods, drinks, and more.
Step One: Remove the Cream

After the can of coconut milk has chilled in the refrigerator overnight, turn the can upside down the following day, open it, and drain off the liquid. Save the liquid to use in a smoothie! It’s delicious.
Step Two: Add Ingredients to Bowl

Place the coconut cream left in the can in the bowl of a stand mixer or food processor, and add the vanilla and stevia to taste.
Step Three: Whip the Cream

Whip the coconut cream until it’s fluffy and has soft peaks. Do not overmix the whipped cream, or it will separate. Chill in the refrigerator, covered, for 3-4 hours before serving. Additional chilling allows the cream to maintain its shape. If you’re using it as a frosting, this is an essential step because the cream becomes more pipeable as it chills.
Serving Ideas
My favorite way to have this treat is with fresh berries. I recommend serving it with the following dessert recipes.
If you’re going to use this whipped cream as a frosting, I recommend putting the frosted baked goods in the fridge. Whipped cream, especially without fillers, doesn’t hold up as well as other kinds of icing. It can sit on the counter for about an hour before it starts to droop.
For food safety, remember that coconut whipped cream is a perishable refrigerated food. USDA advises keeping perishable foods at 40°F or below and discarding them if they have been left at room temperature for more than two hours, or more than one hour when the temperature is above 90°F. (5)
Dairy-Free Whipped Cream Variations
Want more than just plain Coconut Milk Whipped Cream? Here are some tasty, dairy-free whipped topping variations to try.
Citrus Coconut Milk Whipped Cream

Add 1 drop of orange and 1 drop of lemon essential oil to the Coconut Milk Whipped Cream before blending and garnish with lemon zest.
Chocolate Coconut Milk Whipped Cream

Add 3-4 teaspoons of organic raw cacao powder and 1 extra dropper of plain or vanilla liquid stevia OR 1 teaspoon of Grade A Dark Amber maple syrup and blend until smooth for a rich, creamy chocolate treat!
Garnish with fresh organic mint.
Peppermint Chocolate Coconut Milk Whipped Cream

Add 1-2 drops of peppermint essential oils to the chocolate cream recipe. Garnish with organic, dairy-free, gluten-free, vegan chocolate chips(we like Lily’s chocolate chips).
Coffee Coconut Milk Whipped Cream
To make Coffee Coconut Milk Whipped Cream, add 1 teaspoon of organic instant espresso powder to your Coconut Milk Whipped Cream base. Blend as usual. Depending on the powder used, you may have flecks of espresso in the end result.
You can also garnish your Coffee Coconut Milk Whipped Cream with espresso beans covered in vegan, dairy-free chocolate.
Simply melt vegan, dairy-free chocolate in a double boiler and finger-dip the espresso beans. Place on a lightly greased parchment-paper-covered baking sheet, then chill in the fridge until hardened.
Mocha Coconut Milk Whipped Cream
To make Mocha Coconut Milk Whipped Cream, add 4 teaspoons of organic cacao powder and 2 tablespoons organic instant espresso powder (more or less, if preferred) to your Coconut Milk Whipped Cream base and blend as usual. We love using both chocolate and vanilla liquid stevia in this variation. Depending on the powder used, the end result may have flecks of espresso.
Culinary Essential Oil Safety
The citrus and peppermint variations above use very small culinary amounts distributed through an entire batch of whipped cream.
That is how culinary essential-oil use should be understood.
Federal food regulations recognize lemon, orange, peppermint, and many other essential oils and natural extractives as generally recognized as safe for their intended food use. That does not mean every essential-oil bottle should be swallowed or that more drops are better. (4)
Use only an essential oil specifically labeled by its manufacturer as appropriate for culinary or dietary use, follow the amounts in the variations exactly, and consider the total recipe yield.
Do not add extra drops to an individual serving.
Can I ingest essential oils?
Do not casually ingest essential oils in water or neat (undiluted). Internal use of essential oils requires proper dilution, product quality, dosing knowledge, and safety guidance. Learn more about how to ingest essential oils here.
FAQ and Troubleshooting
Q: Does this whipped cream taste like coconut?
A: Yes, but only mildly. Mixing it with vanilla and only using the cream takes out most of the coconut flavor.
Q: Help! My whipped cream won’t whip
A: If you’re having trouble getting your coconut cream to whip, it could be because of three things.
First, is your cream cold enough? Refrigerators set to low temperatures may not have chilled the coconut enough. In this case, I’d recommend putting your mixing bowl in the freezer for a couple of minutes and trying again. Sometimes, your cream needs that extra step!
Second, what brand of coconut milk are you using? The higher quality coconut milk, the higher quality whipped cream! I’ve found this is one instance of getting what you pay for.
Last, did you accidentally grab the “lite” variety? Lite coconut milk doesn’t have the fat content needed to get creamy. If all else fails, try using your blender or food processor.
Q: My whipped cream is too stiff
A: If your whipped cream seems too stiff, add a little splash of the leftover liquid from the can and whip for about 10 seconds. This extra liquid should thin out your cream enough and create more air pockets.
Q: My whipped cream has clumps
A: A few clumps are typical, but lumpy whipped cream happens when you over-mix the coconut cream. If your whipped cream is clumpy, scrape down the sides of the bowl and add a splash of leftover liquid. Whip slowly for another minute or so. The mixture will retain air and get fluffy again.
Q: My whipped cream separated
A: If your whipped cream separates, it’s usually due to overmixing. Place the whipped cream in the oven and turn it to 350°F. Let it sit in the pre-heating oven for 10 minutes, then place in a glass container in the fridge. This should do the trick!
Can I use carton coconut milk instead of canned coconut milk?
I do not recommend it for this recipe.
Refrigerated carton coconut milk is usually formulated as a beverage and contains much more water relative to fat. You need the rich cream that separates from a chilled can of full-fat coconut milk to create the whipped texture.
Can I use coconut cream instead of coconut milk?
A thick canned coconut cream may work, but products vary considerably.
This recipe was developed around full-fat canned coconut milk, so changing the product can change the texture. If you experiment with coconut cream, choose an unsweetened product and keep everything very cold.
How long does coconut milk whipped cream last in the refrigerator?
For best texture, I like it fresh.
From a food-safety standpoint, USDA guidance for refrigerated leftovers is generally 3 to 4 days at 40°F or below. Keep the whipped cream covered and refrigerated and discard it sooner if the smell, appearance, or texture changes unexpectedly. (5, 6)
Is coconut milk whipped cream vegan?
The base made with coconut milk, vanilla, and stevia is dairy-free and plant-based. If you choose honey as the sweetener, it would no longer be considered vegan by people who avoid bee products.
Is coconut milk whipped cream sugar-free?
When made with liquid stevia and unsweetened coconut milk, the recipe contains no added sugar. Honey and maple syrup both add naturally occurring sugars, so the exact nutrition depends on which sweetener you choose and the coconut milk brand.
Why does coconut milk need to be chilled overnight?
Chilling firms the coconut fat and helps the cream separate from the watery portion. That concentrated cold cream is what gives this dairy-free topping enough structure to whip.
The colder and thicker your starting cream, the easier the process tends to be.
At the end of the day, coconut whipped cream does not need to be a metabolic superfood to earn a place in our kitchen.
It is simple.
It is dairy-free.
It can be made without added sugar.
And it turns a can of coconut milk into something that feels special enough for berries, holiday pies, birthdays, or an ordinary Tuesday night.
That is my kind of recipe.

- Wallace TC. “Health Effects of Coconut Oil: A Narrative Review of Current Evidence.” Journal of the American College of Nutrition. 2019;38(2):97-107. https://pubmed.ncbi.nlm.nih.gov/30395784/
- Chen Y, Zhang Z, Chen Y, Li T, Zhang W. “The Role of Fat Content in Coconut Milk: Stability and Digestive Properties.” Food Chemistry. 2024;446:138900. Publisher source.
- Electronic Code of Federal Regulations. “21 CFR §169.175: Vanilla Extract.” Current 2026. https://www.ecfr.gov/current/title-21/chapter-I/subchapter-B/part-169/subpart-B/section-169.175
- Electronic Code of Federal Regulations. “21 CFR §182.20: Essential Oils, Oleoresins (Solvent-Free), and Natural Extractives (Including Distillates).” Current 2026. https://www.ecfr.gov/current/title-21/chapter-I/subchapter-B/part-182/subpart-A/section-182.20
- U.S. Department of Agriculture Food Safety and Inspection Service. “Keep Food Safe! Food Safety Basics.” https://www.fsis.usda.gov/food-safety/safe-food-handling-and-preparation/food-safety-basics/steps-keep-food-safe
- U.S. Department of Agriculture Food Safety and Inspection Service. “Leftovers and Food Safety.” https://www.fsis.usda.gov/food-safety/safe-food-handling-and-preparation/food-safety-basics/leftovers-and-food-safety