
Dyeing Easter eggs is a beautiful tradition, but if you’ve ever looked at the ingredients in those store-bought dye kits, you know they’re loaded with synthetic colors that we wouldn’t dare put in our food—so why would we let them soak into our eggs?
Instead, we use natural food-based dyes made from real ingredients like beets, turmeric, blueberries, and cabbage. Not only do they create beautiful, earthy tones, but they’re also safe, toxin-free, and completely natural—perfect for kids who still put everything in their mouths.
Let me walk you through how to dye Easter eggs naturally, step by step, using either commercial plant-based dyes or your own homemade vegetable-based dyes.
Table of Contents

The Hidden Dangers of Traditional Easter Egg Dyes
Before we get into the how-to, let’s talk about why we stopped using store-bought Easter egg dye kits in the first place.
Most commercial egg dyeing kits contain artificial food dyes like Red 40, Blue 1, and Yellow 5—many of which are linked to hyperactivity, allergies, and other health concerns.
Studies have shown that artificial chemical dyes can trigger behavioral issues in children. These artificial dye ingredients are linked to hyperactivity, mood swings, irritability, and attention difficulties, especially in children with ADHD. Some dyes have even been connected to allergic reactions, skin rashes, and asthma-like symptoms.
The concerns extend further—some chemical colorings, like Red 3, have been shown to cause cancer in laboratory animals, while others, such as Yellow 5, may lead to DNA damage. Despite these dangers, these dyes continue to be widely utilized in the U.S., even though they are restricted or banned in other nations. In addition to behavioral and long-term health issues, artificial dyes may adversely affect gut health and brain function.
The other issue? Eggshells are porous—meaning these synthetic dyes can seep inside the egg, where they’re eventually eaten. We take such pains to eliminate harmful ingredients from our food recipes, so it doesn’t make sense to include them in our holiday traditions. Even if the dye didn’t absorb into the egg, do we really want our kids handling chemicals just for the sake of brighter colors?
This is where naturally dyed Easter eggs come in.
Why Natural Easter Egg Dyes?
The benefits of naturally dyed eggs go beyond just avoiding toxins:
1. Safe & Non-Toxic – Artificial dyes are often derived from petroleum-based chemicals that can have unknown long-term effects. Natural colors, on the other hand, are made from edible plants and spices, making them completely safe for little hands (and mouths).
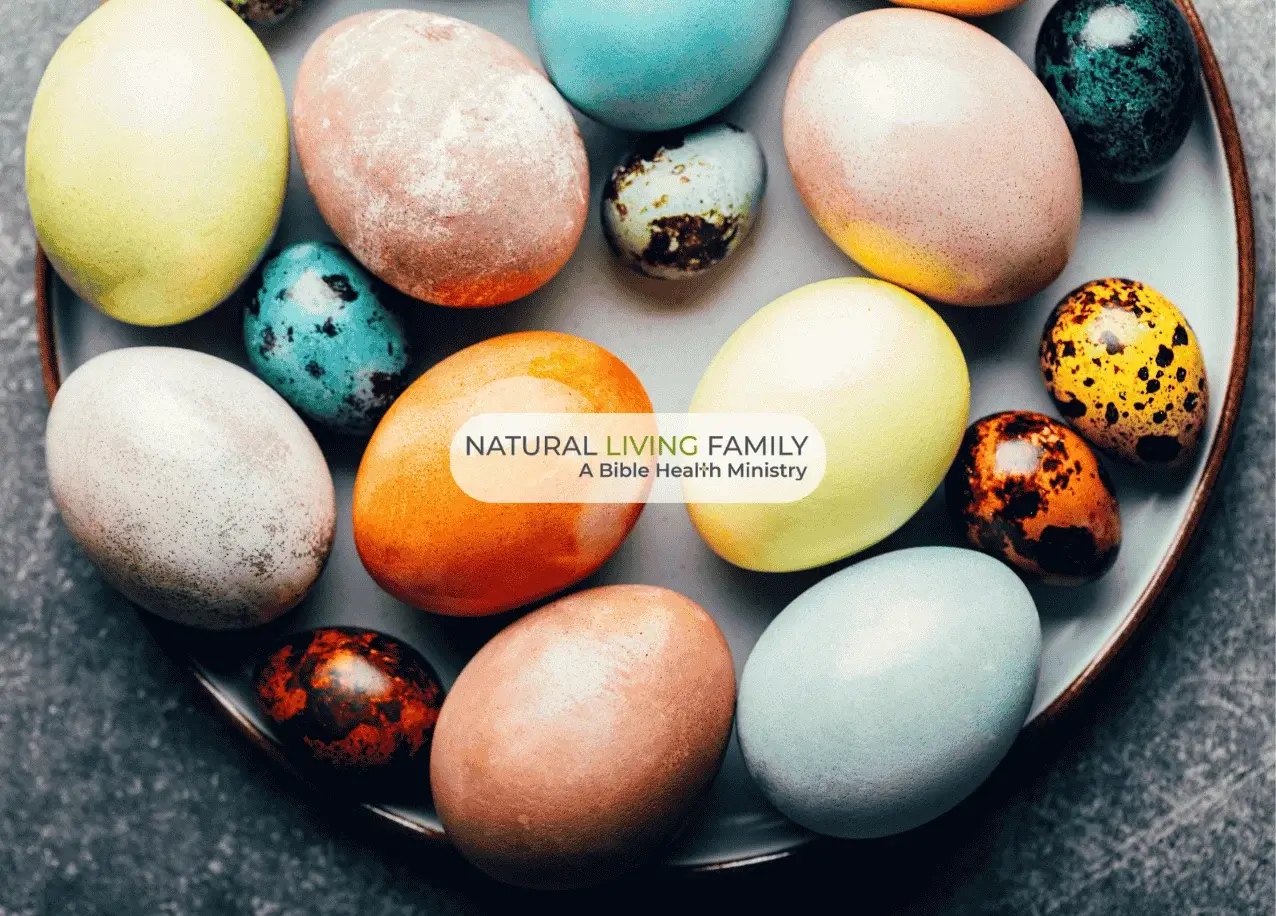
2. Beautiful Earthy Colors – Instead of the artificial colors from store-bought kits, natural dyes create softer, richer tones that have an organic elegance. Brown eggs take on beautiful, deep jewel tones, while white eggs create delicate pastel colors. We’ve even used blue eggs to deepen the blue colors!
3. Eco-Friendly & Biodegradable – Synthetic food dyes can leach into the water supply when they’re rinsed away. When you dye eggs naturally, you’re using biodegradable, plant-based coloring agents that are safe for the environment.
4. Fun & Hands-On – Kids love watching the colors of dye develop over time! Unlike instant synthetic dyes, natural dyeing is a gradual process, teaching patience and creativity. Plus, experimenting with different color combinations and ingredients makes for a fun science project. Let kids mix their own with primary colors, mixing ingredients, etc.
5. Switching to natural egg dyes isn’t just about avoiding toxins—it’s about embracing a healthier, more sustainable way to enjoy a timeless tradition.
Two Ways to Dye Easter Eggs Naturally
You’ve got two great options for making naturally dyed eggs:
1. Using Natural Plant-Based Dyes (Commercial Option)
If you’re short on time but still want the benefits of natural dyes, you can buy plant-based egg dye kits that are ready to use and made from fruits, vegetables, and spices. These work just like synthetic dye kits—just mix with vinegar and water—but without the toxic ingredients.
- Pros: Convenient, pre-measured, less messy, wider color variety. You’ll need more drops to get bolder color, but can still achieve bright colors.
- Cons: Can be more expensive since you are purchasing a kit, however, you get multiple uses from the colors.
One of the best things about these pre-made kits is that they offer a wider variety of beautiful colors than what you can create at home. While homemade vegetable-based dyes give beautiful blues, yellows, and reds, they can’t produce every color.
Some plant-based dye kits come with vibrant greens, bright purple colors, and even nearly neon lime tones—colors that would be tricky (or impossible) to make with kitchen scraps alone.
Pro-Tip – Don’t be afraid to use more drops of these natural dyes for Easter eggs than you typically use with the artificial dyes. You’ll want to use plenty to achieve brighter colors.
2. DIY Vegetable-Based Egg Dyes (Make Your Own!)
If you love a hands-on project, you can create your own egg coloring dyes using organic beets, onion skins, cabbage, blueberries, turmeric, and more. It takes a little prep, but the results are stunning, and you have full control over the colors. Imagine being able to turn a cup of water, some vinegar, and vegetables into a natural dye!
Natural Ingredients & Their Final Color Glossary:
| Color | Natural Ingredient |
| Red/Pink | Beets |
| Yellow | Turmeric |
| Orange | Paprika, carrot tops, or onion skins |
| Blue/Purple | Blueberries, red cabbage, grape juice |
| Green | Spinach, cabbage, matcha tea, or liquid chlorophyll |
| Red-Brown | Red onion skins |
| Gold | Yellow onion skins, coffee |
Pros: Affordable, fully customizable, zero artificial ingredients.
Cons: Requires prep time and patience.
You can use frozen blueberries, onion skins saved over time or taken from the grocery store, etc. The amount of vegetable matter you use, the age of the plant when you make the dye, and more factors can impact the final color. I always recommend keeping track of what you do and the result so you have a record to look back at over time.
How to Make DIY Natural Easter Egg Dyes at Home
Before we start, here’s a quick word of caution—natural dyes are powerful! Turmeric will stain countertops, beets will turn your hands pink, and blueberry dye can leave permanent marks on clothing, especially once you add white vinegar to the natural dyes.
Protect your kitchen and clothes:
- Cover your countertops with newspaper or wax paper.
- Wear an apron or old clothes to avoid staining your best outfits. Ask me how I know—Bella learned the hard way when she splattered tomato sauce on her white shirt!
- Use colored or black silicone tongs—white kitchen tools will absorb the dye.
Now, let’s learn how to make your homemade dyes for Easter eggs.
Step 1: Create the Dye Baths
- Combine 2 cups water and your dye ingredient (chopped beets, onion skins, turmeric, etc.) in a saucepan.
- Bring to a boil, then reduce heat and let simmer for 15-30 minutes until the color is rich and deep.
- Strain out solids and let the colored liquid cool to room temperature.
Step 2: Add Vinegar
- Stir in 1 tablespoon of organic distilled white vinegar per cup of dyed water to help the color absorb.
How to Dye Easter Eggs
Step 1: Gather Your Supplies
1. Hard-boiled (hard-cooked) eggs. Try white eggs for vibrant colors, brown eggs for earthier tones, or blue eggs for surprise undertones.
2. Natural dye, which can be either homemade or commercial plant-based dye.
3. Organic distilled white vinegar for better color absorption. You’ll want at least one tablespoon per cup of dye liquid.
4. Glass bowls or mason jars (wide mouth) and stainless steel pans. Try to avoid plastic and enamel, which can stain permanently from the dyes.
5. Tongs, spoons, and drying racks. Again, consider using colored silicone or metal utensils to avoid staining your kitchen tools.
Step 2: Submerge the Eggs & Create Designs
1. Place eggs in the dye bath and let them soak for 30 minutes-overnight, depending on how deep you want the color.
2. For darker colors, soak eggs multiple times, letting them dry in between dips. It seems that dye time doesn’t impact the color as much as the number of layers, so don’t be afraid to let the eggs dunk and dry more than once!
Get creative! Try:
- Wax crayon designs: Draw designs with a crayon before dyeing—the wax repels the dye.
- Stickers: Apply stickers before dyeing, then remove them for a pattern.
- Rubber bands: Wrap around eggs before dyeing for fun stripes.
Step 3: Remove & Dry
1. Gently lift eggs with tongs and place them on a wire rack or a paper towel-lined plate to dry. Be sure to include plenty of air drying time in your plan.
2. Avoid touching the eggs too much while wet—colors can smudge! Plus the oils from your skin can repel dye during your next dip.
No matter what method you use, track your individual recipes in your kitchen journal. Make note of color intensity, dye times, and design outcomes. It’s always worth noting your favorite color shades and how you achieved them for future years!
Naturally dyed Easter eggs are a simple, beautiful, and safe alternative to artificial dye kits. And it doesn’t matter whether you make your own vegetable-based dyes from everyday ingredients or use plant-based store-bought options. Your results are sure stunning, toxin-free, and completely natural.


References:
- https://pubmed.ncbi.nlm.nih.gov/23026007/
- https://pmc.ncbi.nlm.nih.gov/articles/PMC2957945/
- https://health.osu.edu/health/mental-health/food-dye